

Vinyl Transfers - Ultimate Guide
- Shiralee Allen

- Jul 19, 2025
- 4 min read
Updated: Jul 25, 2025
Vinyl is a great product that can be used on almost any type of base - cotton, canvas, leather, ceramics, metal, and more. Vinyl is particularly good for apparel and gives a nice textured feel. It can also provide a more dimensional look to products.
Once a design has been created, the design is cut from rolls of vinyl. The cut images are pieced together, and adhered to the product, creating a beautiful design. There are many machines available that are ideal for designing and cutting your transfer vinyl. Some of these include: Cricut, Silhouette, Brother, and others.
The two main types of vinyl include:
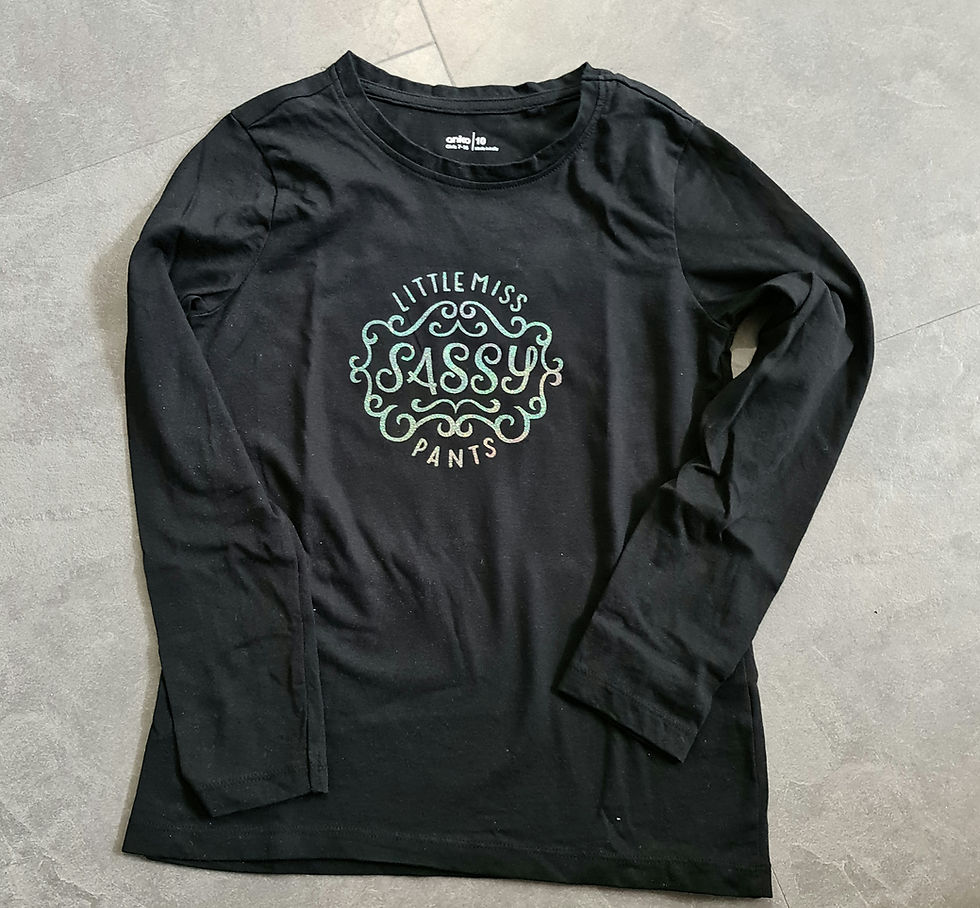
HTV (Heat Transfer Vinyl) for products such as apparel, canvas, and leather, where heat is used to adhere the vinyl to the product (clothing or other textiles). We suggest limiting your design to 4 to 5 colours, as layers of vinyl can become thick and not very appealing.
Permanent vinyl is ideal for decals on hard surfaces, such as ceramic and glass. Although this vinyl is called "permanent" there are limitations and timeframes, with most lasting between 12 months to 5 years, depending on whether used indoors or outdoors.
How to care for vinyl decals
Vinyl transfers on fabrics (clothing, textiles) will need to be washed and dried inside out to maintain the look and feel of your transfer. You definitely do not want to put your garment in the clothes dryer, as the heat can cause your transfer to warp and lose its visual quality.
For Vinyl decals on glass, ceramics, and wood: please only hand wash. If you put these in the dishwasher, the decal is likely to peel off due to the extreme heat, and nobody wants that to happen.
Decals on cars or other windows usually last for years, even going through the car wash. However, if your car is left in the sun all day, every day, it is likely the decal will eventually crack and peel. Looking after your decal will help it to last for years and still look great!
Creating Vinyl Heat Transfers
Start creating your design in your preferred program. This might be the program that came with your cutting machine, or an external graphics program.
If designing in an external program like Inkscape, Adobe Illustrator, or other, you will need to save your image as a "cut file". This is so your machine knows how to cut the image. I like saving my images as SVG (Scalable Vector Graphic).
Place the item you are going to transfer onto on a table. Measure how big you would like your image to be, as this size will be needed for your cutting machine.
Open your cutting machine's software and load your image. Adjust the size of your image in the program to match what you need for your item.
Make sure you "mirror" your image before cutting. It appear to be backwards, but once cut and flipped over, you will see it is the right way around.
HTV (iron-on vinyl) has a clear plastic backing sheet that covers the top of the vinyl. When cutting, you place the backing sheet side against your cutting mat
Send your image to your cutting machine, and follow your machine's instructions to begin cutting.
When your machine has finished cutting, eject the mat, and peel your vinyl and backing sheet off the mat. Now the fun begins!
Place your cut image with backing sheet still attached, onto a craft mat with the backing sheet against the mat, and your image facing upwards. You will now begin to "weed".
"Weeding" is where you remove all the cut bits that you do not want to transfer to your item. Think negative areas in a photo. You use a "weeding tool" - like a little hook to lift-up pieces and remove those you do not want. Discard these pieces as you go.
If you find it difficult to see the cut edges, you can bend your transfer to make the edges more visible, hold your transfer up to a window, or use a light source like a lightpad/brightpad.
Now you are ready to transfer.
Check the instructions on your HTV. Some are cold-peel and others are hot-peel. This will help you to determine how quickly you need to remove the backing sheet once it has been heated.
Place your transfer onto your item, with the backing sheet facing upwards and the transfer against your item.
You can use a home iron, but you do get much better results using a heat-press. You need both heat and pressure to enable your transfer to activate and adhere to your item.
If using a home iron, have it on cotton setting with steam turned OFF.
If using a heat-press, follow the machine's instructions. Every heat-press is different and will have different labels for HEAT (C°/F°), PRESSURE (this can either be numbers/PSI/ or the words low, medium, high), TIME (each machine will have a specific time based on materials being used).
Once the heat has been applied, remove the backing sheet. as per HTV instructions.
We recommend you allow your items to "cure" before washing. It is best to leave your item sit for around 24 hours before washing. For apparel, wash inside-out in cold water, then hang to dry.
Congratulations! You've just completed a transfer using HTV
Creative Lee also uses vinyl in conjunction with sublimation for some of our products.
See also, the blog: "DTF - Direct To Film"


Comments